Virtualising an existing macOS installation for VirtualBox on Debian 11

I have an old Mac Mini which does just two things: it acts as a storage server, to which other machines back up automatically, and it runs the software for our Fujitsu ScanSnap scanner.
The backup/storage side is easily replicated without macOS, but the ScanSnap software is a pain and I want to keep it.
I also wanted to avoid doing a new macOS installation and installing the software on that, because setting up wireless scanning requires plugging the scanner into the computer first, and that is a pain without Extension pack for VirtualBox which does not permit commercial use.
So my plan was to create a new installation of macOS as a virtual machine, then restore a Time Machine image from the current physical Mac Mini onto that installation.
tl;dr: it worked.
Backing up the current Mac Mini
I just did a normal Time Machine backup, to a network share.
The “network share” bit is important, so that it is accessible from a macOS virtual machine without access to USB ports.
(You might be able to do it with a USB drive if you have the Extension pack for VirtualBox, but I have not tried it.)
Creating the macOS High Sierra installer
Installing macOS High Sierra in VirtualBox was easier than I expected, but not trivial.
There are some scripts on GitHub, which appear to do the whole job, but I could not make them work for me. YMMV.
I used this script instead.
I downloaded the High Sierra installer via Apple on a Mac — it opened a special link to the App Store, to enable me to download the installer.
Once downloaded, I ran the prepare-iso.sh script. I had to specify the path to the installer, as it was not detected automatically.
When completed, I copied the .iso to the machine which will host the VM, as that .iso will be the boot disk.
Creating a .vbox configuration
Here’s where I went wrong. Well, not wrong, but I made life more difficult for myself.
I attempted to create the .vbox configuration by hand, using VBoxManage. And I got it about 95% right, which is either good, or 5% short, depending on how you see it.
Since I ended up attaching a monitor to the host and finishing the configuration by the GUI, I should have just done that in the first place, to cover most of what I needed to do.
Because I wanted an exact clone of a previous device, before I shut it down, I copied its MAC address, and used that as the MAC address for the network interface of the VirtualBox image. That way, it would (should) get the same IPv4 address as the original machine, and so things should just keep working.
Add a DVD drive, and point it to the .iso created in the previous step.
I also needed to tell VirtualBox some configuration information to make macOS think it was running on the same kind of hardware as Mac Mini I was cloning — otherwise, the Time Machine backup will not restore.
I used a modified set from this guide:
VBoxManage setextradata "[my virtualbox name]" "VBoxInternal/Devices/efi/0/Config/DmiSystemProduct" "MacMini4.1"
VBoxManage setextradata "[my virtualbox name]" "VBoxInternal/Devices/efi/0/Config/DmiSystemVersion" "1.0"
VBoxManage setextradata "[my virtualbox name]" "VBoxInternal/Devices/efi/0/Config/DmiBoardProduct" "Iloveapple"
VBoxManage setextradata "[my virtualbox name]" "VBoxInternal/Devices/smc/0/Config/DeviceKey" "ourhardworkbythesewordsguardedpleasedontsteal(c)AppleComputerInc"
VBoxManage setextradata "[my virtualbox name]" "VBoxInternal/Devices/smc/0/Config/GetKeyFromRealSMC" 1
I did not — and I don’t know why — use the cpuidset data. Since it seems to be working fine, I’m not tempted to adjust it.
Installing macOS
I did not try an unattended installation as I had the screen attached.
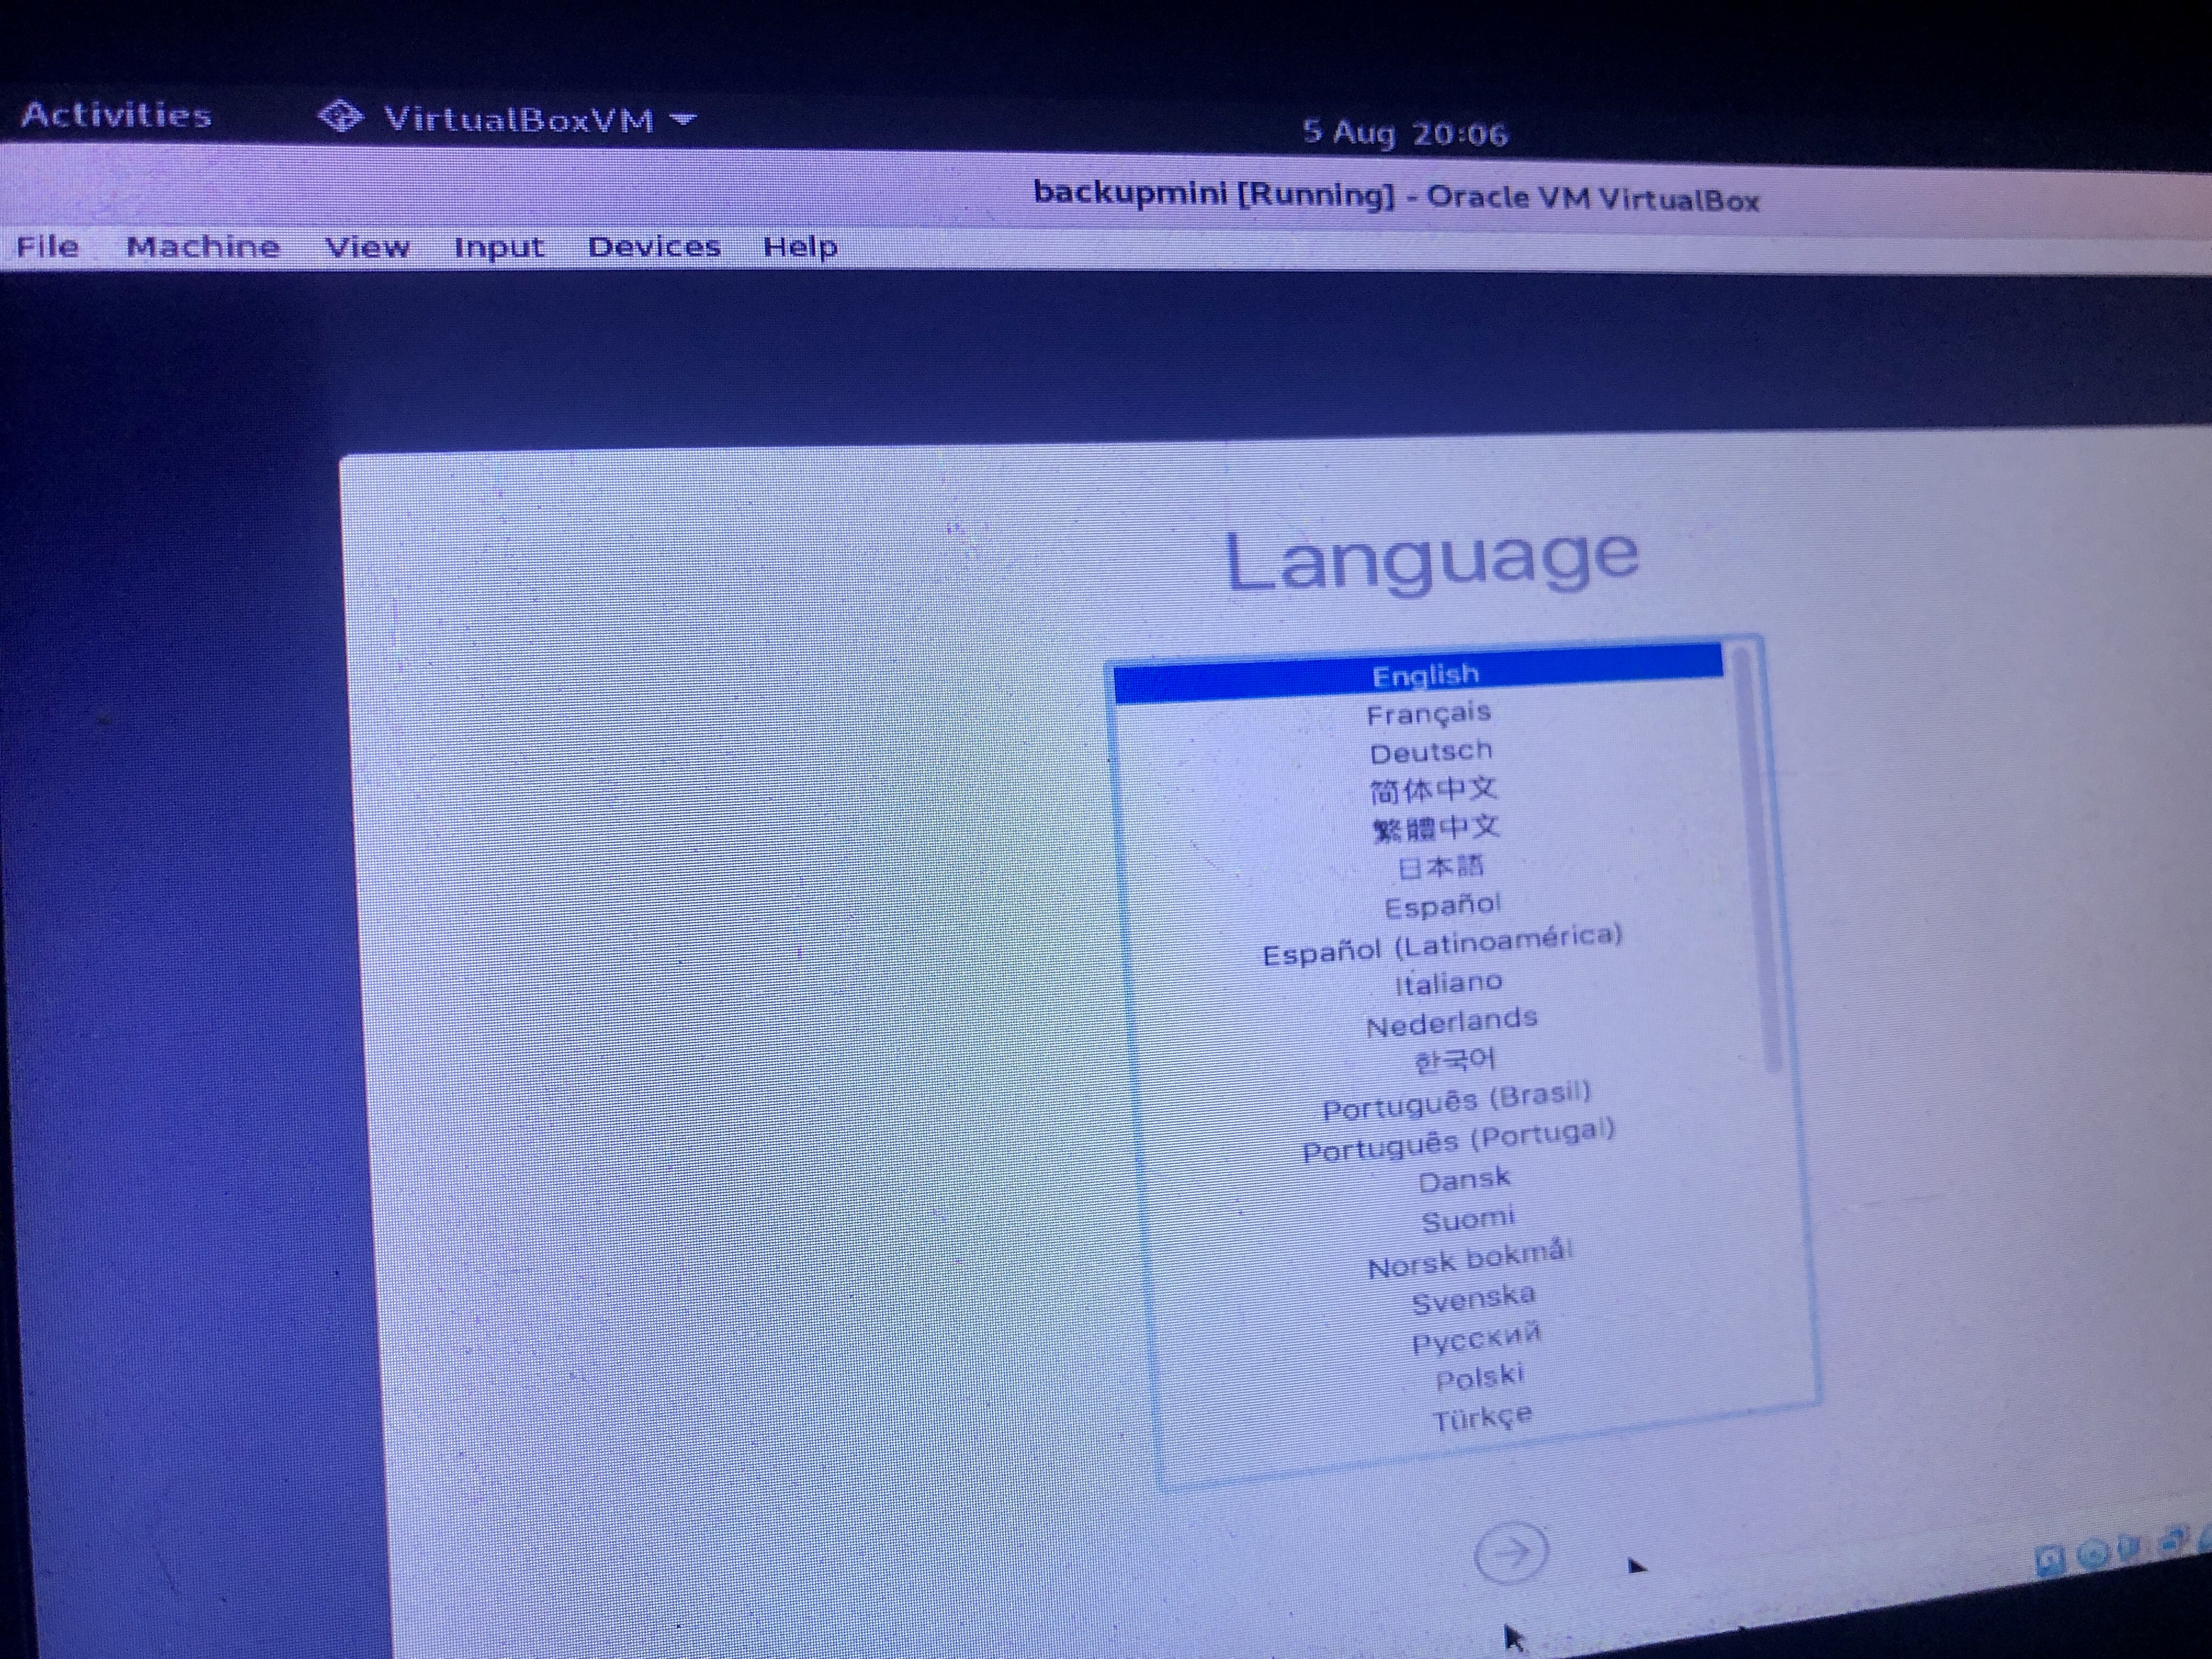
I enabled the virtual machine, and it booted. There was more verbose text on the screen than a normal macOS installation / boot, but it worked.
In the installer, I used Disk Utility to format the .vdi I created with the .vbox configuration, and then used the “Restore from Time Machine” option.
It took about 16 hours for the restoration, but it worked.
It worked!
When the restoration had finished, I could log into the newly-created virtual machine as if it were the old image.
Because it had the same IP address as the old machine, existing DNS configuration continued to work, and, thank goodness, the scanner “just worked” too.