Installing vanilla Debian 11 on a Raspberry Pi 4
I’m documenting this for myself as much as anyone else, but if it helps, great.
I wanted to run vanilla Debian 11 (i.e. not Raspbian) on a Raspberry Pi 4. This is because I want to have LUKS encryption for / and trying to retrofit that to a Raspbian image looked like a pain (if possible at all).
Fortunately, people cleverer than I am have done the legwork here and, while it’s not trivial, it’s possible.
Limitations
You need to use a USB stick, not an SD card. This should be faster anyway, if you use a decent USB stick and one of the USB 3 ports. You can boot the Debian installer from an SD card, but it will fail. Known issue, which — as I understand it — would required a kernel patch.
You need to set up the disk partitions manually, if you want LUKS. That’s because the guided installer wants to use the whole disk, and you cannot let it use the whole disk, because you’ll need to keep the boot files on a partition on it.
You need to use Debian 11 if you want ethernet drivers. And I do, because it’s a bit pointless otherwise for me. (Wi-Fi will not work, but that’s fine for me.)
You’ll probably find it easiest to do the preparation stages of this process from another machine running Linux. This could be your Raspberry Pi, since, if it’s an older one, you’ll need to boot Raspbian on it anyway to configure the ability to boot from USB. (You might be able to do it with macOS, but I haven’t tried.)
Preparing the Debian installer
I used this post on the RPi community forum as my starting point. And it was fine, at a high level. What it lacks — by design, or otherwise — is the detail of how to do it.
Start by buying a USB stick of a suitable size for your needs. I’m using a 128GB stick.
Downloading the two sets of files reference in the post:
- a Debian 11 ARM netinst ISO (or, if you prefer, a mini inst image)
- RPi 4 UEFI firmware (I used v1.28)
Pop the USB stick into your machine, and check its identity:
fdisk -l
For me, it was /dev/sdb, and it already had a partition at /dev/sdb1.
I removed it, using dd:
dd if=/dev/zero of=/dev/sdb bs=512 count=34
Use fdisk to partition the disk:
fdisk /dev/sdb
You want gpt, so use g to create it.
Add a partition of around 350MB. I went for 500MB to be on the safe side.
Use n to create a new partition, then accept the default partition number and the default starting point.
For the end point of the partition, I went for +500M to give me a 500MB partition.
Change the partition type from “Linux system” to ESP:
t following by 1.
Write the changes with w.
That sets up the partitions on the disk.
Format your newly-created ESP partition as FAT 32:
mkfs -t vfat /dev/sdb1
Mount the filesystem. I created a mountpoint of /media/neil/disk, and then mounted it with mount /dev/sdb1 /media/neil/disk.
Extract the Debian installer contents onto the ESP partition. I used 7zip for this:
7z x /home/neil/Desktop/debian-testing-arm64-netinst.iso -o/media/neil/disk
Unzip the content of the UEFI firmware to the ESP partition:
unzip /home/neil/Desktop/RPi4_UEFI_Firmware_v1.28.zip -d /media/neil/disk
Finally, unmount it, and you should be ready for the installation:
umount /dev/sdb1
Preparing your Raspberry Pi
Older Raspberry Pi 4 units are not capable of booting from USB by default. Irritatingly, to achieve this, you’ll need to boot Raspian on the RPi, and then enable USB booting.
I did:
sudo apt update
sudo apt full-upgrade
sudo rpi-update
sudo rpi-eeprom-update -d -a
And then, to effect the change:
sudo raspi-config
Go to Boot options, Boot ROM version and select Latest. Select No to “Reset boot ROM to defaults”.
Select Boot Order, select USB Boot, and then Ok and Finish.
There is no need to reboot.
Remove the SD card when you are done, as you do not want it there for the Debian installation.
Installing Debian with LUKS
Making sure that the SD card is removed, and there are no other USB sticks connected. Connected an ethernet cable, and plug in the USB installer drive.
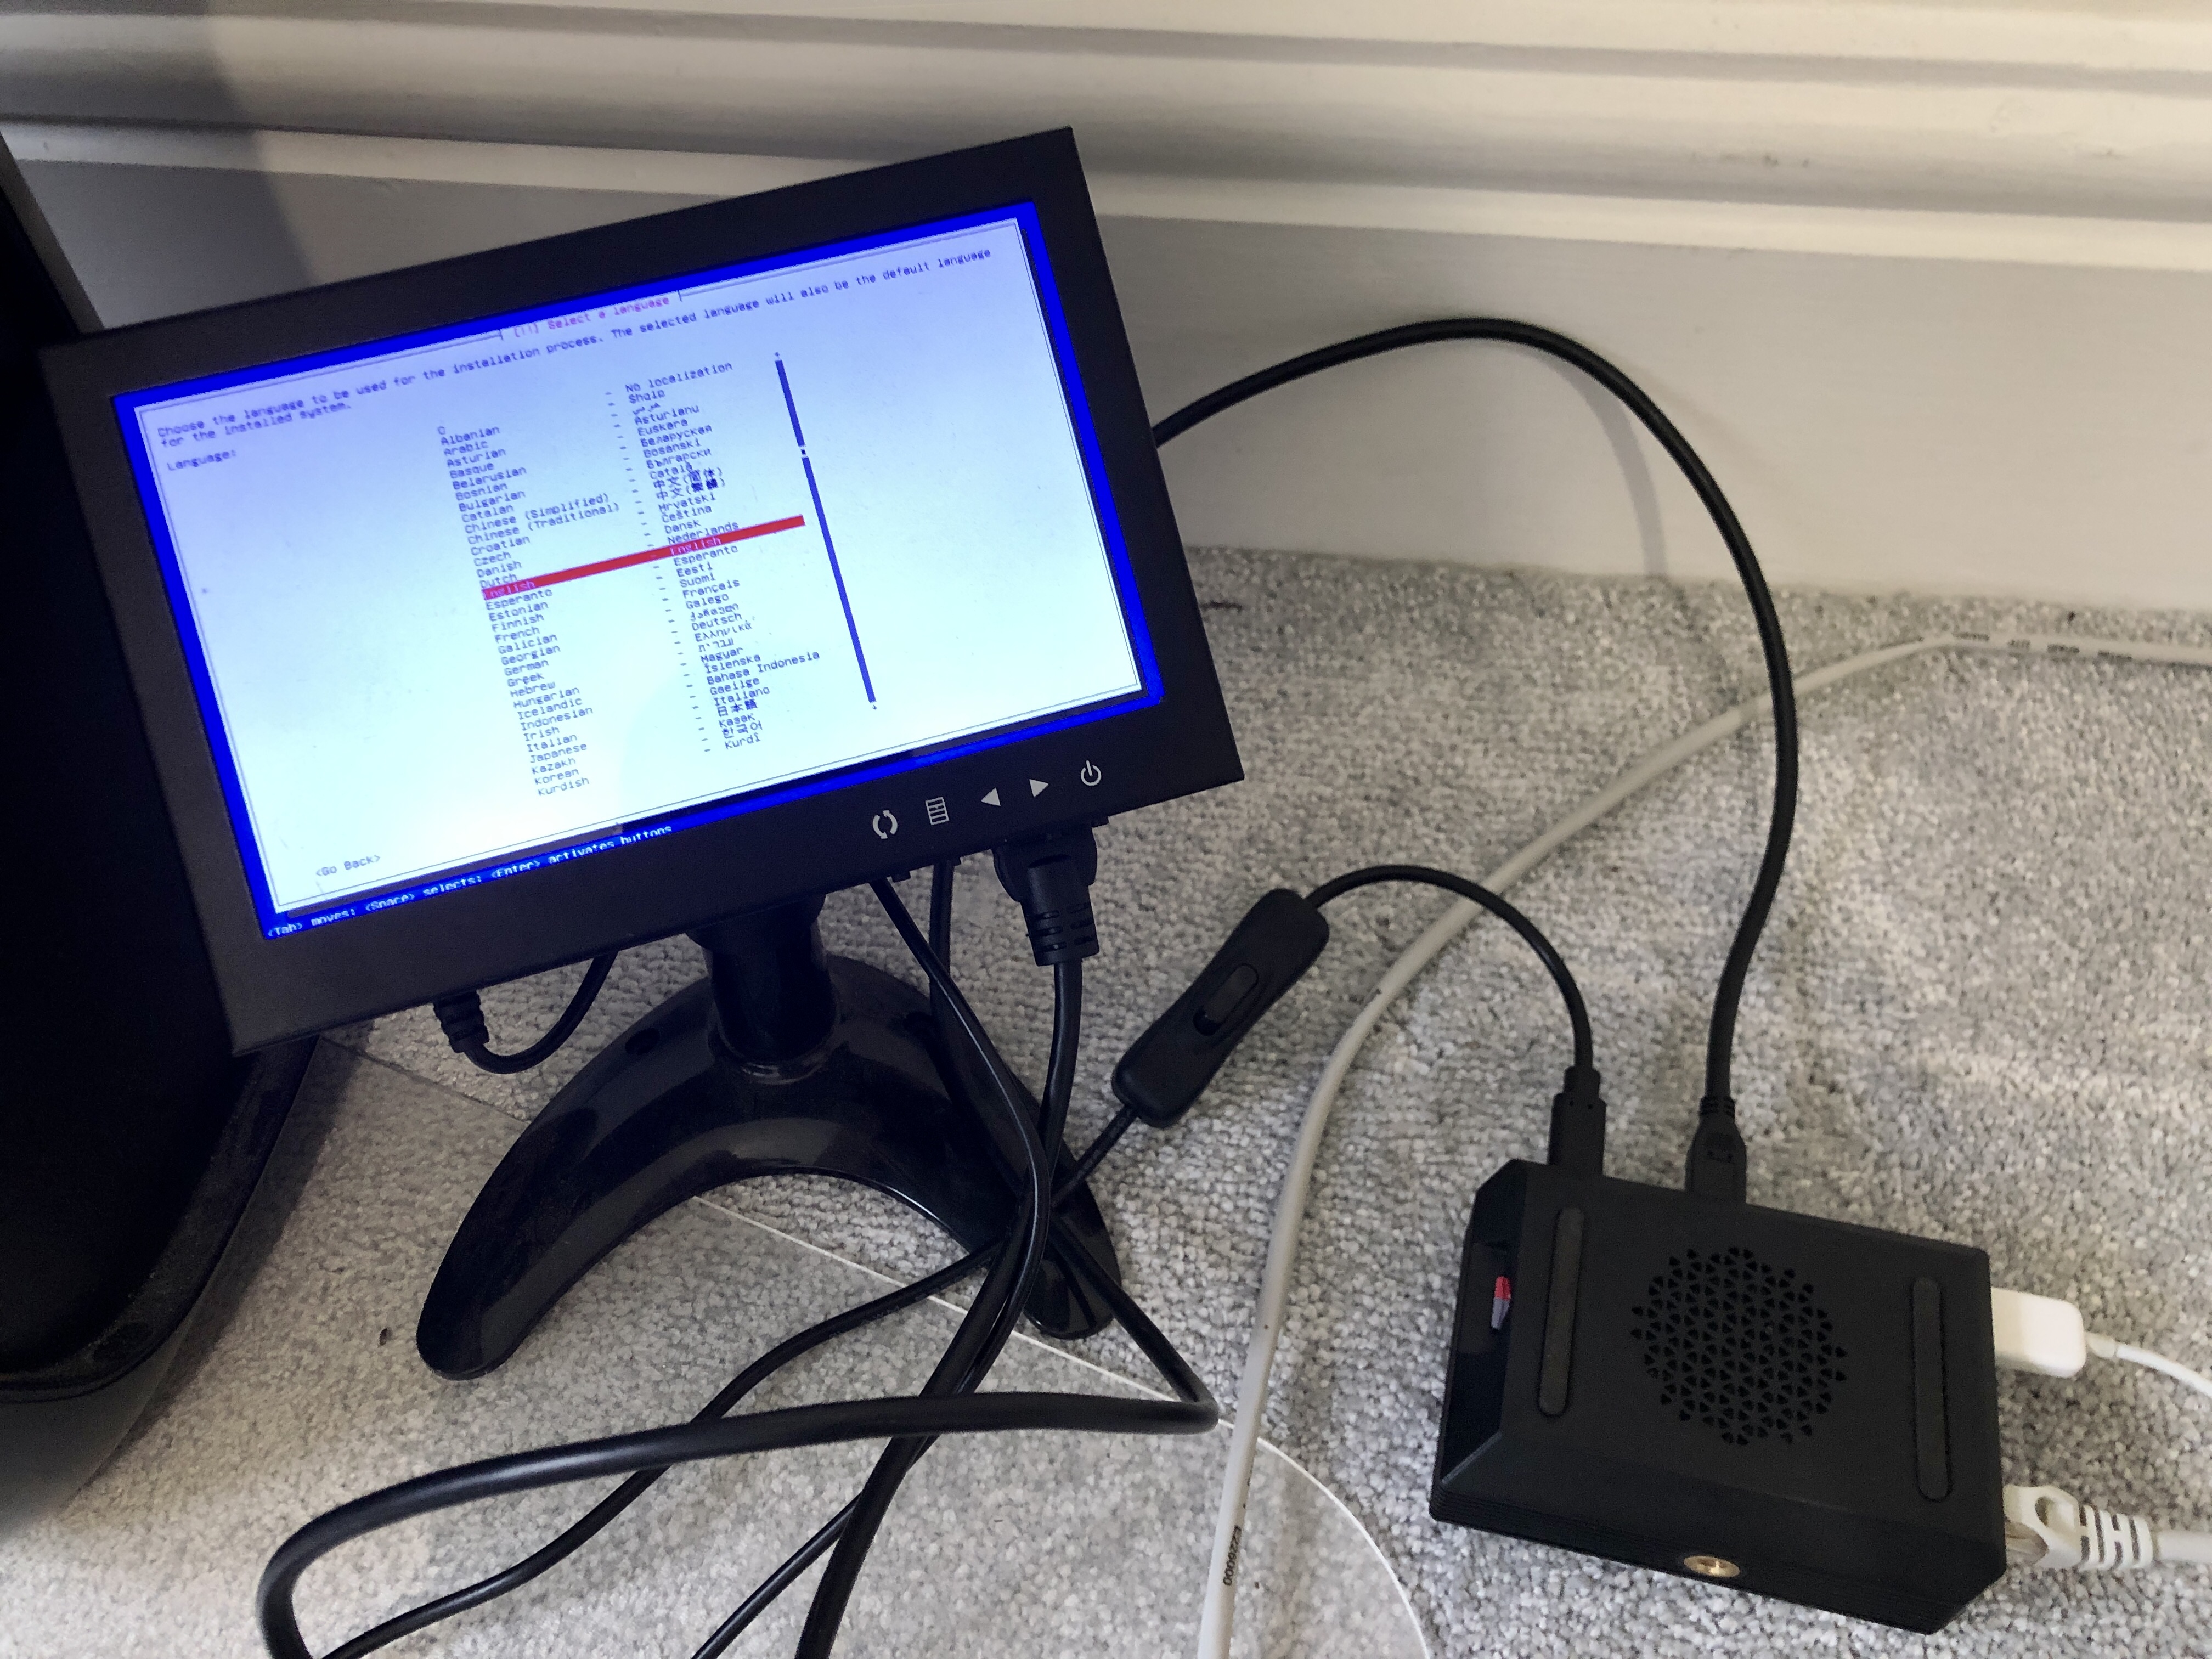
Turn on the Pi, and it should boot to GRUB, and then the Debian installer. I went for the normal (non-graphic) installation, but apparently graphic installation works too.
It’s a normal Debian installation but, if you want LUKS, you’ll need to set up the partitioning yourself. (That’s the manual option from the installer.)
The write-up here was the base I used. The main difference was that you don’t want to set a /boot point on the LVM, as that will be handled by the ESP partition.
Once installed and rebooted, I set up LUKS decryption over ssh. For some reason, it did not work properly the first time (I could log in, but not unlock the disk). Second time, after I had purged the installation and re-done the configuration, it seems to work fine.
You may also like:
- Unlocking a LUKS-encrypted partition via ssh on Debian 10 and Debian 11
- Running Jitsi on a Raspberry Pi 4
- Fixing a font which shows in macOS Font Book but not in macOS LibreOffice
- Gemini PDA running Debian: a properly portable computer
- Internet access via iPhone's personal hotspot on Lubuntu 21.04
- Lubuntu 21.04: forcing natural scrolling on a mouse
- Debian 10 on a Samsung NC10
- wireguard via algo: a simpler, faster(ish) alternative to IPSec